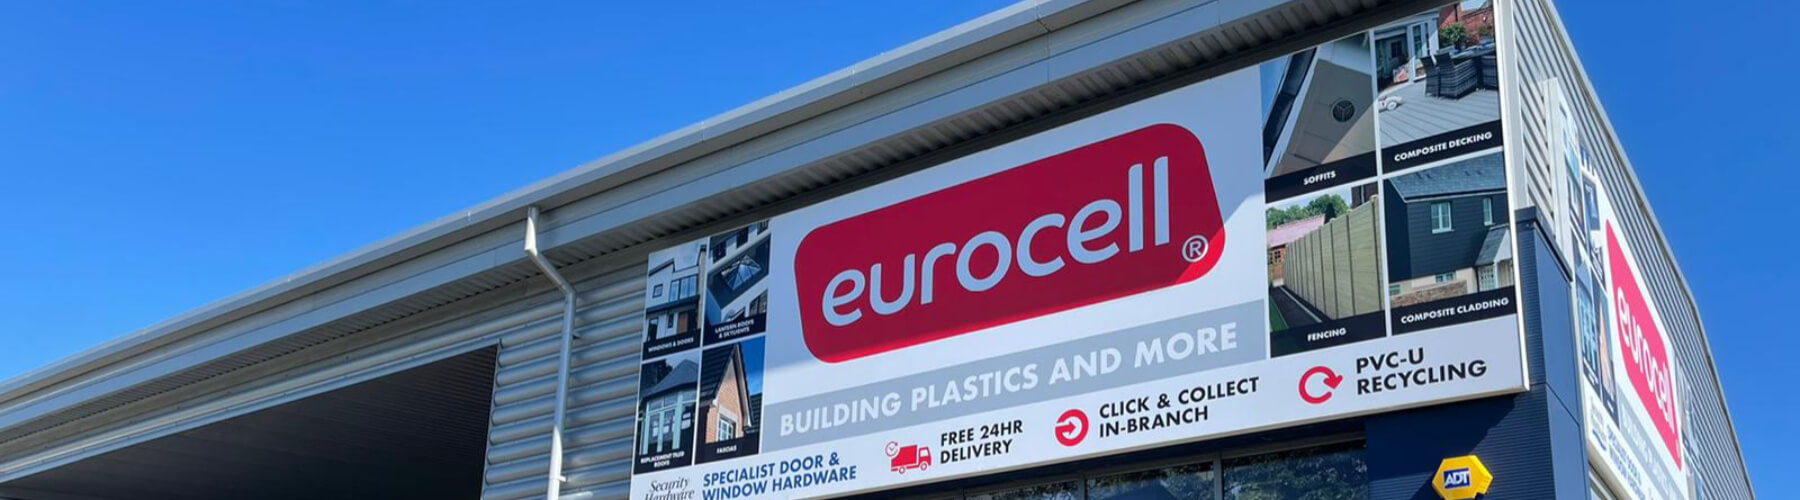
Eurocell Ireland
Expert advice and a huge choice of products
If you're looking for decking, flooring, fencing or more - you're covered with Eurocell.
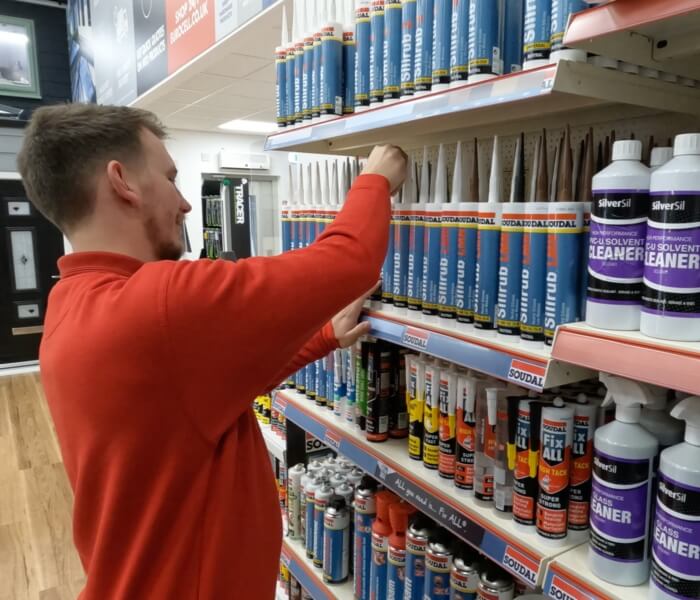
Supplying expert advice and a huge range of products
If you're not sure what you need, our expert staff are always on hand with advice on choosing the right products for the job - whatever the job.
We operate the leading network of branches throughout Ireland and the UK.
We deliver free of charge within a 30 mile radius of Dublin 22. For details of delivery charges for locations further afield, please contact our Dublin branch.
Eurocell Dublin Branches
Eurocell Dublin
Unit 8, Robinhood Business Park, Dublin D22 YR81
Tel: 00353 1460 5383
Email: dublin@eurocell.co.uk
Eurocell Dublin Santry
Unit 47, Airways Industrial Estate, Dublin D17 EV97
Tel: 00353 1862 3278
Email: dublinsantry@eurocell.co.uk

News from Eurocell
Tips, advice, blogs, case studies, and announcements: get all the latest developments direct from Eurocell HQ. You won't miss a thing!

Technical Hub
Check spec sheets, CAD drawings, data sheets, certifications, and more in our Technical Hub so your next project goes without a hitch.
Eurocell Recycle
Through two purpose-built recycling centres and millions of pounds of investment, we are the UKs largest recycler of UPVC. Get all the details here.